Discover the perfect outdoor shades for your home with our free in-home consultation in Arden Hills, Lake Elmo, Little Canada, Mahtomedi, New Brighton, North Oaks, Roseville, Shoreview, Stillwater, White Bear Lake, Woodbury, and surrounding areas. Request a Free In-Home Consultation today!
Made in the Shade Twin Cities brings the showroom to you. They offer professional measuring, installation, and a variety of window treatment products. Designers created these products to enhance your home’s look and function.
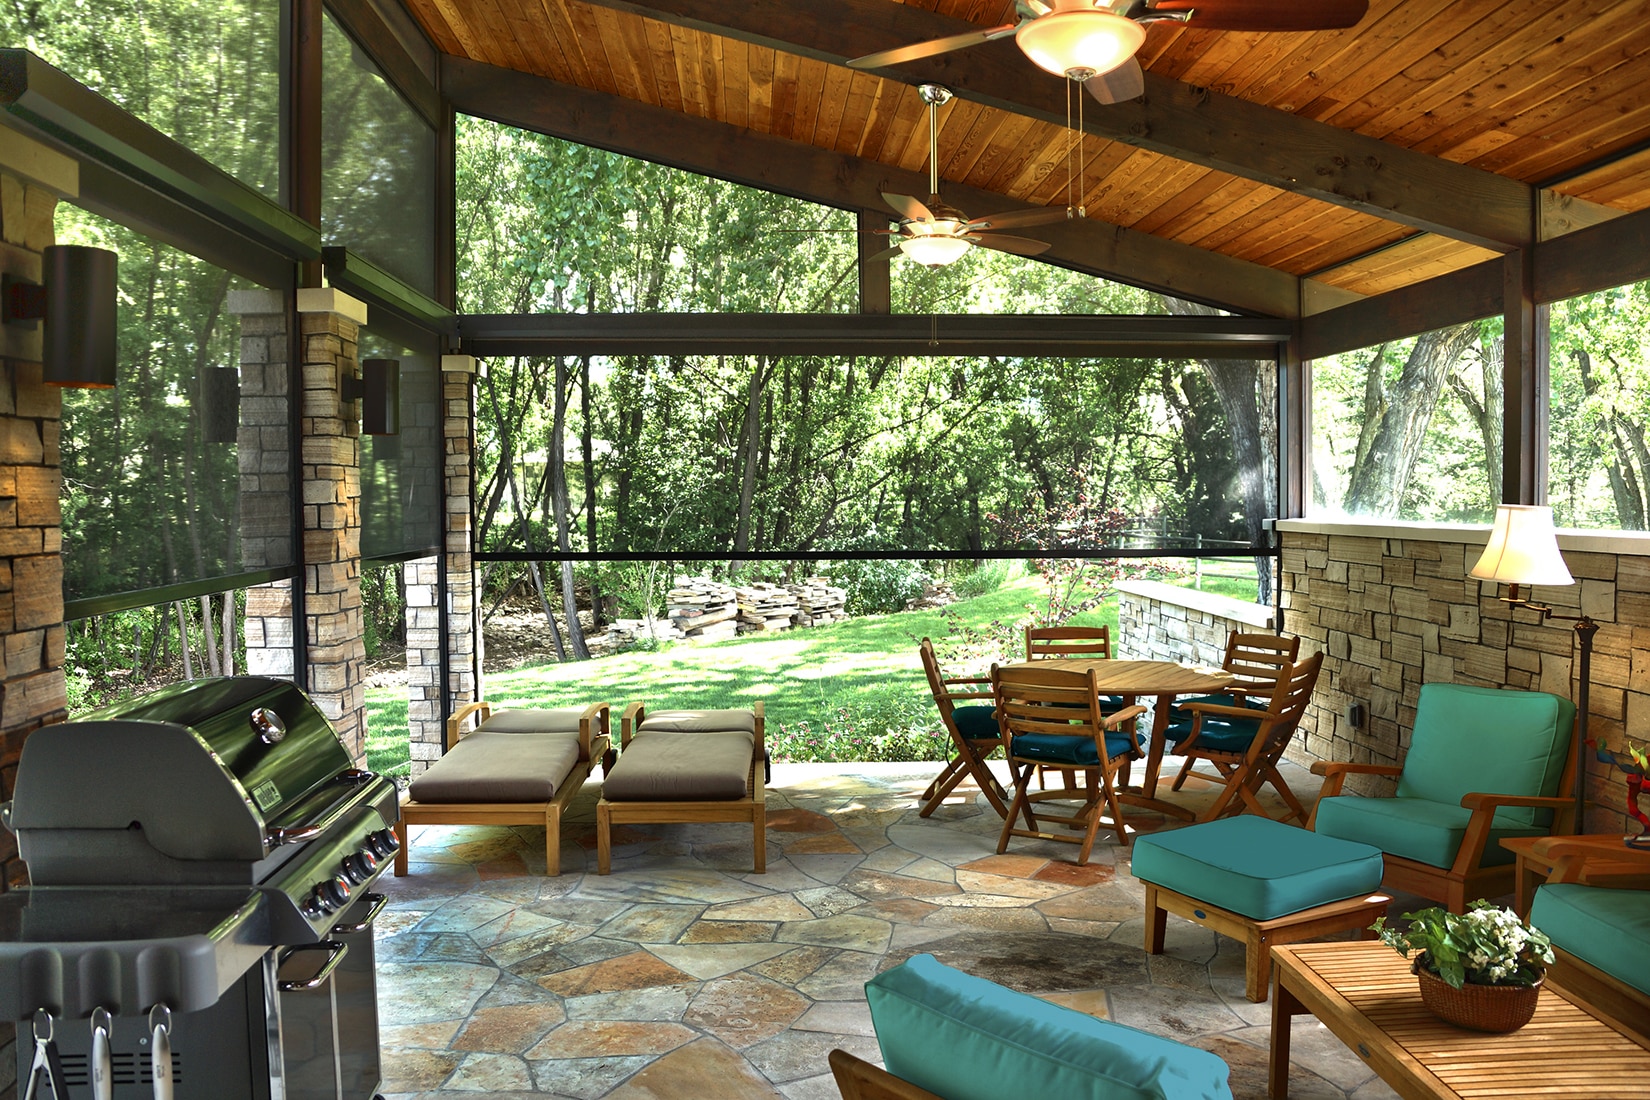
Privacy screens establish a shield for exterior spaces, enabling you to chill without interruptions. Outdoor living spaces are important parts of our homes where we can relax, have fun, and appreciate nature.

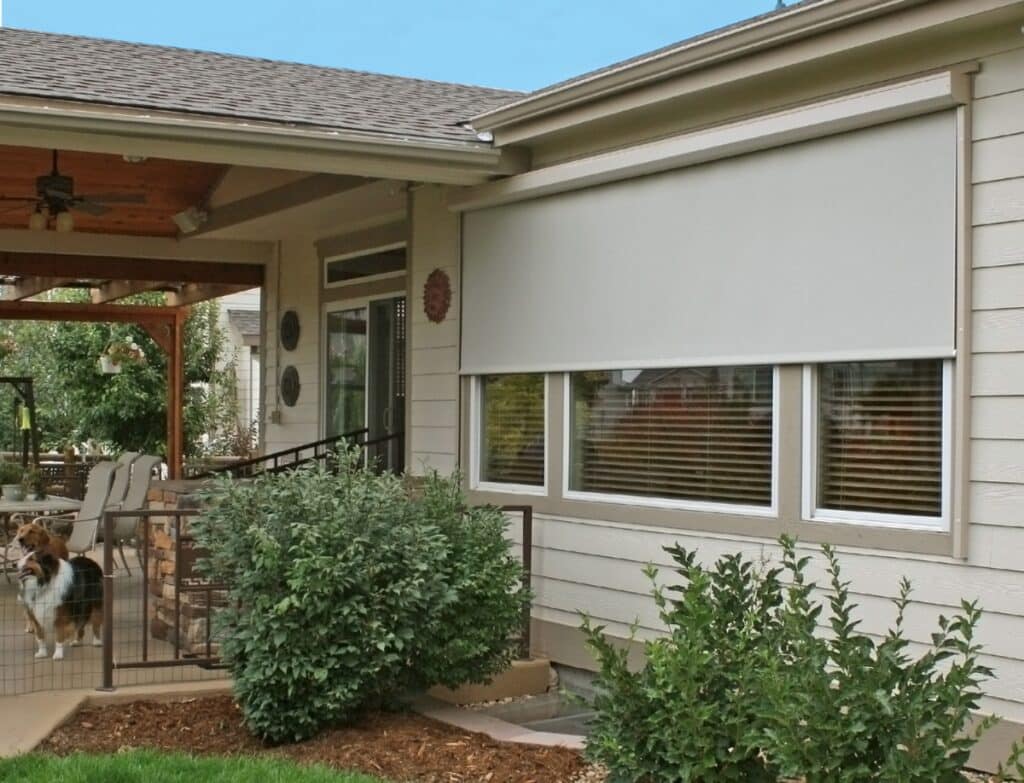
As summer approaches, the need for effective and stylish outdoor shade solutions becomes paramount. Outdoor roller shades are a superb choice for homeowners looking to enhance their patios, decks, and porches. This article explores how to install outdoor roller shades, ensuring you get both the practical benefits and aesthetic pleasure.
Why Choose Outdoor Roller Shades?
Outdoor roller shades offer numerous advantages:
- Sun Protection: They provide significant UV protection, keeping your outdoor spaces cool and comfortable.
- Privacy shades provide privacy in outdoor areas, letting you relax without interruptions from outside sources.
- Outdoor roller shades are available in different materials and designs. They can complement any structural style and add elegance to your home exterior. Step-by-Step Guide to Installing Outdoor Roller Shades
1. Measure Your Space
Accurate measurements are crucial. Measure the width and height of the area where you plan to install the shades. It’s advisable to add an extra few inches on each side to ensure maximum coverage.
2. Choose the Right Shades
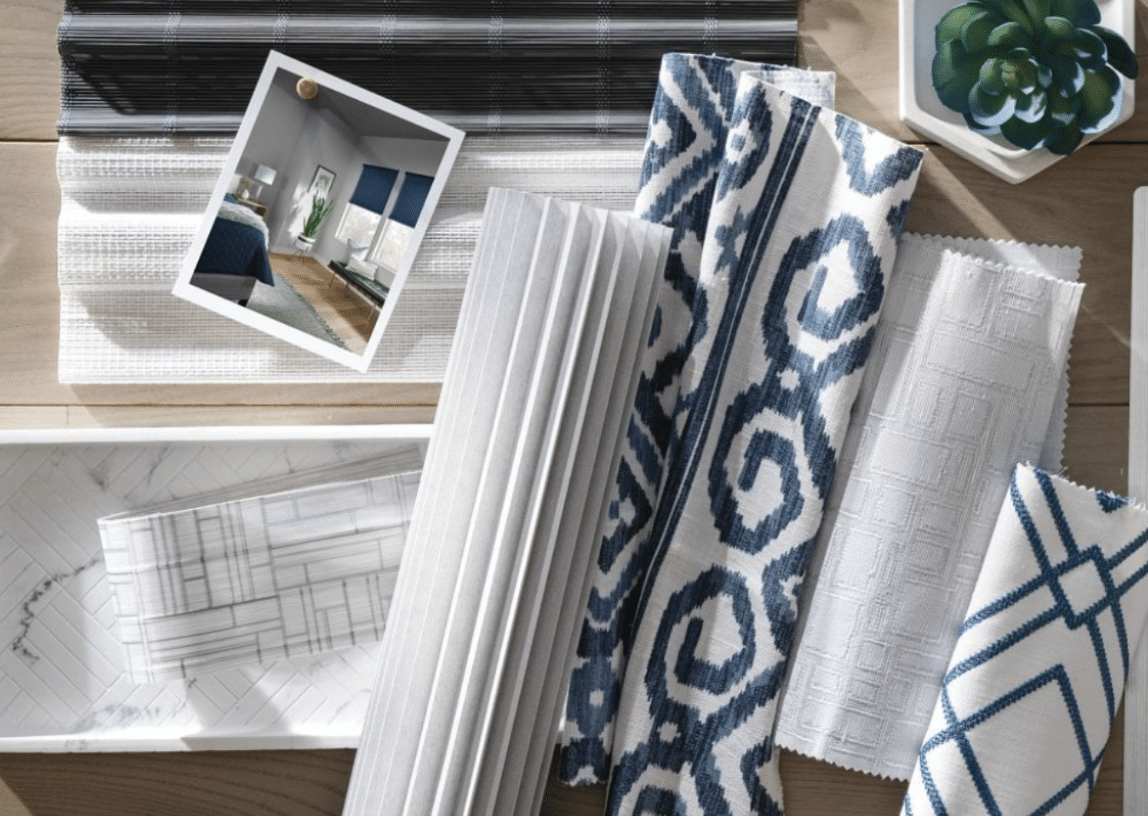
Select shades that match your functional needs and aesthetic desires. Outdoor sun shades at Made in the Shade Twin Cities come in a variety of fabrics, colors, and patterns. Designers create them to withstand the elements and enhance your decor. The design withstands the elements and enhances your decor.
3. Gather Your Tools
You’ll need basic tools like a drill, level, measuring tape, and screws. Ensure you have all these tools ready before beginning the installation.
4. Install the Brackets
Mark the spots where the brackets will go, ensuring they are level. Drill holes and secure the brackets using screws. This step is vital for a sturdy installation.
5. Hang the Shades
Once the brackets are in place, hang your shades. Make sure they roll up and down smoothly and adjust any settings as necessary for optimal operation.
6. Add Accessories
Consider adding an automation feature for ease of use, especially for larger or higher installations. Made in the Shade Twin Cities offers cordless lift and automation options. You can connect these choices to home automation systems. This connection enhances convenience and safety for users.
Conclusion
Putting up outdoor roller shades is easy and can make your outdoor areas more comfortable and attractive. With the right tools and a bit of patience, you can achieve professional-looking results that not only protect but also beautify your home.
Remember, for expert advice and a personalized selection of outdoor shades tailored to your needs, Made in the Shade Twin Cities is here to help. We’ll bring the showroom to you, ensuring a hassle-free experience from selection to installation. Call us today at 612-387-1499 or request a free in-home consultation to explore the possibilities for your home.


